Showing posts with label shortbread. Show all posts

Cheesecake Thumbprints

Here is the thing about Martha Stewart, it's not that I've been intimidated by her, it's just that I've felt kind of....neutral? on the subject of her. I know some people swear by her and everything she stands for, and I know some people loathe her and everything she stands for.
However, last year, I was visiting with a friend, helping her decorate a wedding cake, and I remembered I wanted her recipe for grapefruit cookies (I don't like grapefruit, but oh man, those cookies...). She directed me to one of her favorite books, which happened to be "Martha Stewart's Baking Handbook." I looked through it, and I. Fell. In. Love. Everything, and I mean practically everything, just looked delicious and like something I would actually want to make! And COULD actually make! So I jotted down the grapefruit cookie recipe, and promptly made them that night and failed.
I think....I think I wrote the recipe down wrong? I'm not sure, because I did everything I had written down and I'm not perfect and this post is not about those cookies anyways (I am planning on revisiting them someday). 
My point is, I ordered the book, so that I could have the recipe in its perfect form and also because I was in love at that point. I got it, and it's been sitting on my bookshelf for the better part of a year. Doing nothing.
So, a couple of weeks ago, I set a goal (NOT a resolution!) to bake 12 things out of Martha's book, over the next year. That's one thing a month. Duh? 
To my point, THIS post is about the very first thing that I ever baked out of Miss Martha's baking book! And  it was delicious. If you like shortbread and you like cheesecake, then these cookies have your name alllllllllll over them. They're so easy and good! Yes I just used the word easy to describe a Martha Stewart recipe. It does, however, have a few different steps, so you'll want to have about a 2 hour block to make sure you get these done properly. Totally worth it. I told my Beehives (the 12/13 year old girls that I teach at church) about them one Sunday, and I was ordered to bring them to the following Tuesday night's activity. I left with an empty container, so it's good people. Really, really good.


Cheesecake Thumbprints

4 oz. cream cheese, softened
1/2 cup sugar
1/4 tsp salt, plus a pinch
2 large egg yolks
1 1/2 tsp sour cream
1/8 tsp vanilla extract
2 sticks unsalted butter, softened
2 cups all purpose flour

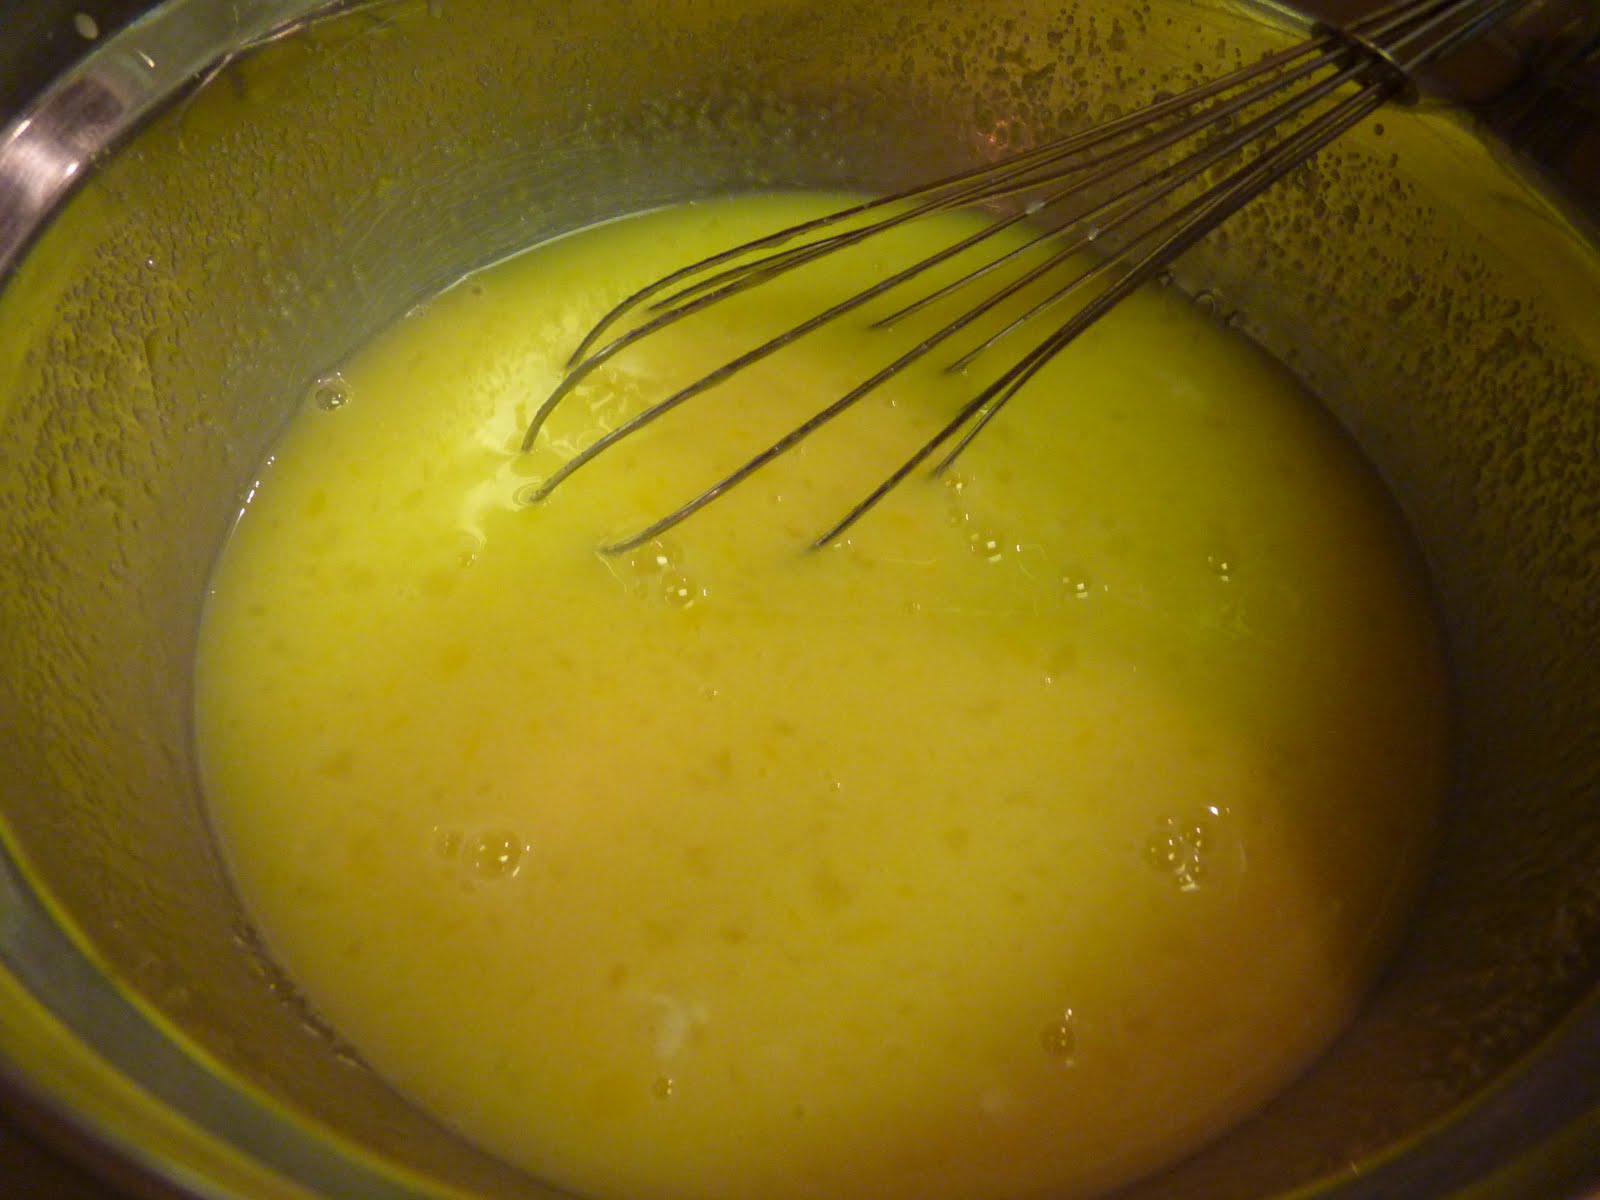
In a bowl of an electric mixer fitted with the paddle attachment, beat cream cheese on medium speed until light and fluffy, about 3 minutes, scraping down the sides of the bowl as needed. Add ¼ cup sugar and a pinch of salt, and beat until smooth, about 3 minutes. Add 1 egg yolk, sour cream, and vanilla; beat until smooth. Transfer to a small bowl, and refrigerate for about 30 minutes.

Preheat the oven to 350 degrees F, with racks in the upper and lower thirds. Line two large baking sheets with parchment paper; set aside. In the bowl of an electric mixer fitted with the paddle attachment, beat the butter and remaining ¼ cup sugar on medium speed until well combined, 1 to 2 minutes, scraping down the sides of the bowl as needed. Add remaining ¼ teaspoon salt and egg yolk; beat to combine. With mixer on low speed, gradually add the flour, mixing until just combined.

Shape level tablespoons of dough into balls, and place on prepared baking sheets about 1 inch apart. Using the lightly floured end of a thick wooden spoon handle (or your thumb), make an indentation in the center of each ball.
Bake 10 minutes; remove from oven and make indentations again. Rotate sheets, return to oven, and bake until edges of cookies begin to turn golden, 7 to 9 minutes more. Transfer cookies to a wire rack to cool completely.

Using a small teaspoon, fill the center of each cookie with about 1 teaspoon cream cheese filling, mounding it slightly. Return cookies to the oven, and bake until the filling is firm, 7 to 8 minutes. Transfer cookies to a wire rack to cool completely. Refrigerate in an airtight container, layered between waxed or parchment paper, at least 4 hours before serving (cookies can be refrigerated overnight).

Note: This recipe makes about 30 cookies. These cookies are best eaten after they have been refrigerated overnight. Allow them to sit at room temperature for twenty minutes before serving.
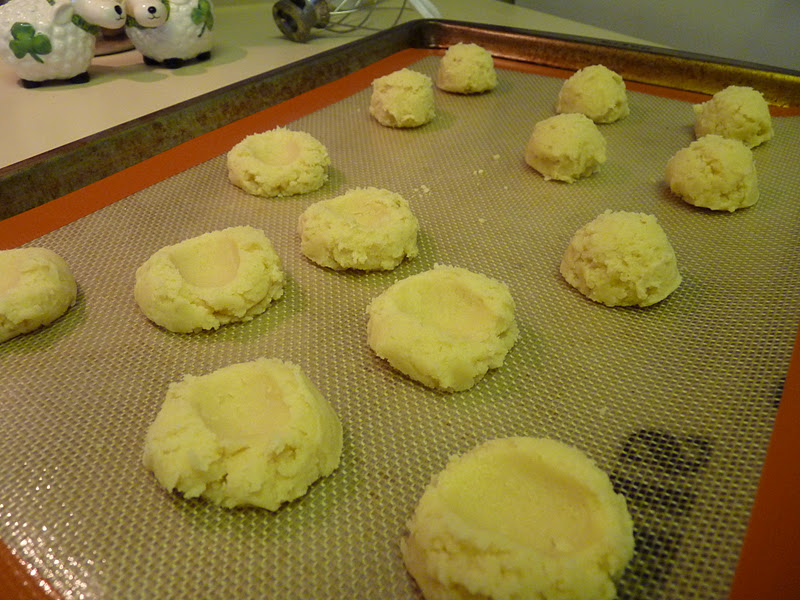


The dough is really like a thick, dry, shortbread type dough. Which, of course, I LOVE.


I had to call my mom to consult with her about what she felt the "upper and lower thirds" of my oven were. I did the 2nd and 4th rungs, and they were perfect. When I took the dough out to re-do the indentations, I rotated the sheets and switched the racks they were on, when I put them back in the oven, just for more evenness. 
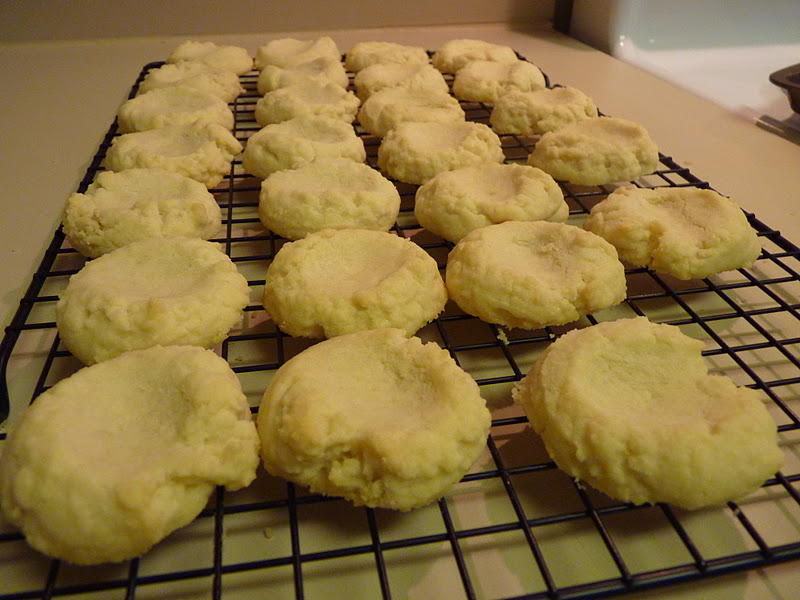

I won't lie to you, I was all set to use a spoon to re-do the indentations, but it was just not working fast enough and also I think the dough is too fragile when it's that warm to be using anything but your thumb. So just suck it up and do it! Or use a spoon. Really, it's up to you.


I must tell you, as I was looking at my cheesecake filling, and at Miss Martha's, I was a bit concerned. People, her's was PURE. WHITE. How you get a pure white, egg yolk based mixture is BEYOND me. I felt much better about myself when I did some internet grazing and realized that all of the other normal people, like me, had yellow filling too. 


Here they are before going in for round two of baking.


Aaaaaand finally finished!!!! These are really really good. But definitely refrigerate them before eating. I didn't let them chill overnight, like the recipe recommends,  but about 4 hours and it was perfect.

(Can I tell you I had a heartbreaking realization, when looking around for tips on taking better food pictures? Better food pictures require natural light. I live in an apartment, which requires NO natural light, at least in the kitchen. Sad day. I guess I could start baking on my couches? Until I have a house for myself, your guess is as good as mine, will you please continue to be patient with my dark, awful pictures?)


Now, go make a Martha Stewart recipe for yourself, and feel pretty dang proud of yourself in the process. 


Recipe Source:  (more to come from this book! and that is a guaranteeeeeeeeeeeeeeeeeeeeeeeeee!)


Buttermilk Lime Shortbread Bars

Isn't it lovely when you find a treat that's perfect for summertime, but the fruit used in it is in season in the wintertime? Anyways, these bars are delicious!! I ran across them a couple of weeks ago and it was fate because I had some leftover buttermilk sitting in the fridge that I wasn't quite sure what to do with. I could've made Mike some buttermilk biscuits, but I did that last time I had leftover buttermilk, and I don't want to set a precedence. We don't need him getting spoiled.
This recipe is really easy to follow. I didn't have any limes on hand (and they're not in season at the moment...) so I used some lime juice for both the juice and the zest part. It worked out great! These are going to taste very similar to lemon bars, but more tart. I mean REALLY tart. I like the taste of tart things, but you will definitely want to eat these in small amounts. Also, I found that right after they cooled, they weren't as good as when I let them sit overnight. I definitely recommend waiting a day to eat these, ooooooo or even refrigerating them and eating them cold!! Why didn't I do that before??

Buttermilk Lime Shortbread Bars
Crust:
1 1/2 cups all-purpose flour
1/3 cup granulated sugar
1/4 teaspoon salt
1 teaspoon vanilla extract
1/2 cup (8 tablespoons) butter, cold, cut into 8 pieces

Filling:
4 large eggs
1 1/3 cups granulated sugar
1/2 cup buttermilk
1/2 cup lime juice, freshly squeezed
1 tablespoon lime zest
1 teapoon vanilla extract
Powdered sugar for dusting

Preheat the oven to 350 degrees F.
For the crust, in a medium bowl, combine the flour, sugar, salt and vanilla extract. Sprinkle the butter pieces over the top of the dry mixture and using a pastry blender, two knives or your fingers, cut the butter into the dry mixture until it resembles coarse crumbs. Pour the mixture into the bottom of a 9X9-inch pan and press the crust firmly to form an even layer. Bake the crust for 16-17 minutes, until lightly browned around the edges.
While the crust is baking, prepare the filling by whisking together all of the filling ingredients in a large bowl until evenly combined. Pour the filling mixture over the hot crust when it comes out of the oven and return it to the oven to bake for 18-20 more minutes, until the filling is set (it will not jiggle if the pan is shaken slightly).
Cool the bars in the pan completely before dusting with powdered sugar, slicing and serving. These bars also taste excellent after they have been chilled.


Here's the crust which, like so many other things when you cut in butter, looks like pie dough!


The filling is really going to look like scrambled eggs after you get everything mixed together. (you know, 'making an effort' scrambled eggs, not like my scrambled eggs which is just throwing an egg in a frying pan the way it is and adding some salt...)


This is what it looks like when it comes out of the oven!!! Mine cracked a little, there on the left, so I think I might've left it in a minute or two too long. It settled pretty well while it cooled though. Also I'm a genius and didn't take a picture of some cut bars. Just go check out Mel's page. She takes prettier pictures than I do anyways :)

Recipe source: Mel's Kitchen Cafe

The Closest to Success I'll Get, In This Country

If you've read my blog from the beginning, you know that I am in search of an authentic, Scottish recipe of Millionaire Shortbread, exactly the way I had it in Scotland last spring break. I've decided that the only way I'm going to actually be able to do that, is to go back to Scotland. Mike? Please? We can stop there on the way to Normandy :) Anyways, what I'm sharing with you today is not exactly what I've been dreaming of for the past year, but it's preeeeeeetty close! I have a friend that was in Scotland a couple of months after I was, and I asked her to track down this recipe for me. She got me contact information for a bake shop/farm there, and they actually wrote me back with the recipe that they use! Wherever you are Ian, thanks for the recipe!


*The measurements are all by weight, so you're going to need a scale to follow it. Also, don't ever ever ever use just a regular, old pot to make caramel. You need one that has a thick base, with 2 or 3 layers.


Millionaire Shortbread

For the shortbread:

9 oz plain flour

3 oz caster sugar (if you can't find caster, use superfine)

6 oz butter, softened

For the caramel:

4 oz butter or margarine

4 oz light muscovado sugar (if you can find light muscovado, use dark brown)

Two 14 oz cans sweetened condensed milk

For the topping:

7 oz plain or milk chocolate, broken into pieces (I just use baking chips...they're already small...)


Preheat the oven to 350. Lightly grease a 9x13 pan. (They called it a tin!)

To make the shortbread, mix the flour and caster sugar in a bowl. Rub in the butter until the mixture resembles fine breadcrumbs. Knead the mixture together until it forms a dough, then press into the base of the prepared pan. Prick the shortbread lightly with a fork and bake in the pre-heated oven for about 20 minutes or until firm to the touch and very lightly browned. Cool in the pan.

To make the caramel, measure the butter, sugar and condensed milk into a pan and heat gently until the sugar has dissolved. Bring to a boil, stirring all the time, then reduce the heat and simmer very gently, stirring continuously, for about 5 minutes or until the mixture has thickened slightly. Pour over the shortbread and leave to cool.

For the topping, melt the chocolate slowly in a bowl over a pan of hot water (aka double boiler or bain marie). Pour over the cold caramel and leave to set. Cut into squares or bars.

*The recipe also says that you could use chocolate frosting (They call it cake covering! Love it!) or make a marbled chocolate on top, just split the amount of chocolate evenly between milk and white chocolate (3.5 oz of each...).


This is my candy making pan :) See the thickness on the bottom? There's a couple of different layers.


This is the shortbread before it's baked. Be sure and mix it together really really well before pressing it into the pan. As you can see from the top corners, I didn't mix my butter in very well there and it looks a little dry.


When making caramel, never ever ever ever ever ever EVER stop stirring!!! If you do, it will catch on the bottom and burn; it needs to always be moving around. I want you to make a note here that if you're making this caramel and you start to see brown spots, don't freak out! The dark brown sugar will do that. You will know the difference between sugar spots and burned caramel spots. Funny story about this particular batch of caramel, so this recipe makes a LOT of caramel and I decided to half that part of it. I halved the butter and the sweetened condensed milk... but not the sugar. My caramel had a very caramelly flavor and color, but once set up it was not gooey at all. So, learn from my mistakes and watch your measurements :)


Here it is! If I had made my caramel correctly, it would be a little more gooey. See how thick that caramel layer is though? If you do the full amount it will be twice that thick! If you like that much, more power to you!!!

And now I just have plain old shortbread....

My brother Darius, Mike, and I went to Ireland/Scotland back in March. The thing that was probably one of my favorites from the whole adventure was discovering chocolate covered shortbread, over here it's called Millionaire Shortbread. It's a bar cookie with a shortbread base with caramel on top of that and then covered in chocolate. YUM. My most recent attempt at making it was my second and I have yet to find a recipe for it that I can get along with. I love it so much though I WILL NOT REST UNTIL I FIND A DELECTABLE RECIPE FOR IT!!! So this recipe I'm not posting. I'll explain why with the pictures.


Here's the shortbread part. It was really good and buttery, just as shortbread should be.


Here's the thing about this recipe that drove me up the wall: when making the caramel you can't stir at all. This is a picture of my spoon waiting to be used. It was dying. I was dying. 30 minutes I sat there staring at this combination of boiling sugar and water and not doing anything.


When it showed no signs of turning amber in color, way past the amount of time it should have, I got mad at it and stirred it. This is what happened. This is what you would get out of the ocean if it was sugar water and not salt water...


So I made these cookies to feel better about myself :)