Showing posts with label buttermilk. Show all posts

Buttermilk Lime Shortbread Bars

Isn't it lovely when you find a treat that's perfect for summertime, but the fruit used in it is in season in the wintertime? Anyways, these bars are delicious!! I ran across them a couple of weeks ago and it was fate because I had some leftover buttermilk sitting in the fridge that I wasn't quite sure what to do with. I could've made Mike some buttermilk biscuits, but I did that last time I had leftover buttermilk, and I don't want to set a precedence. We don't need him getting spoiled.
This recipe is really easy to follow. I didn't have any limes on hand (and they're not in season at the moment...) so I used some lime juice for both the juice and the zest part. It worked out great! These are going to taste very similar to lemon bars, but more tart. I mean REALLY tart. I like the taste of tart things, but you will definitely want to eat these in small amounts. Also, I found that right after they cooled, they weren't as good as when I let them sit overnight. I definitely recommend waiting a day to eat these, ooooooo or even refrigerating them and eating them cold!! Why didn't I do that before??

Buttermilk Lime Shortbread Bars
Crust:
1 1/2 cups all-purpose flour
1/3 cup granulated sugar
1/4 teaspoon salt
1 teaspoon vanilla extract
1/2 cup (8 tablespoons) butter, cold, cut into 8 pieces

Filling:
4 large eggs
1 1/3 cups granulated sugar
1/2 cup buttermilk
1/2 cup lime juice, freshly squeezed
1 tablespoon lime zest
1 teapoon vanilla extract
Powdered sugar for dusting

Preheat the oven to 350 degrees F.
For the crust, in a medium bowl, combine the flour, sugar, salt and vanilla extract. Sprinkle the butter pieces over the top of the dry mixture and using a pastry blender, two knives or your fingers, cut the butter into the dry mixture until it resembles coarse crumbs. Pour the mixture into the bottom of a 9X9-inch pan and press the crust firmly to form an even layer. Bake the crust for 16-17 minutes, until lightly browned around the edges.
While the crust is baking, prepare the filling by whisking together all of the filling ingredients in a large bowl until evenly combined. Pour the filling mixture over the hot crust when it comes out of the oven and return it to the oven to bake for 18-20 more minutes, until the filling is set (it will not jiggle if the pan is shaken slightly).
Cool the bars in the pan completely before dusting with powdered sugar, slicing and serving. These bars also taste excellent after they have been chilled.


Here's the crust which, like so many other things when you cut in butter, looks like pie dough!
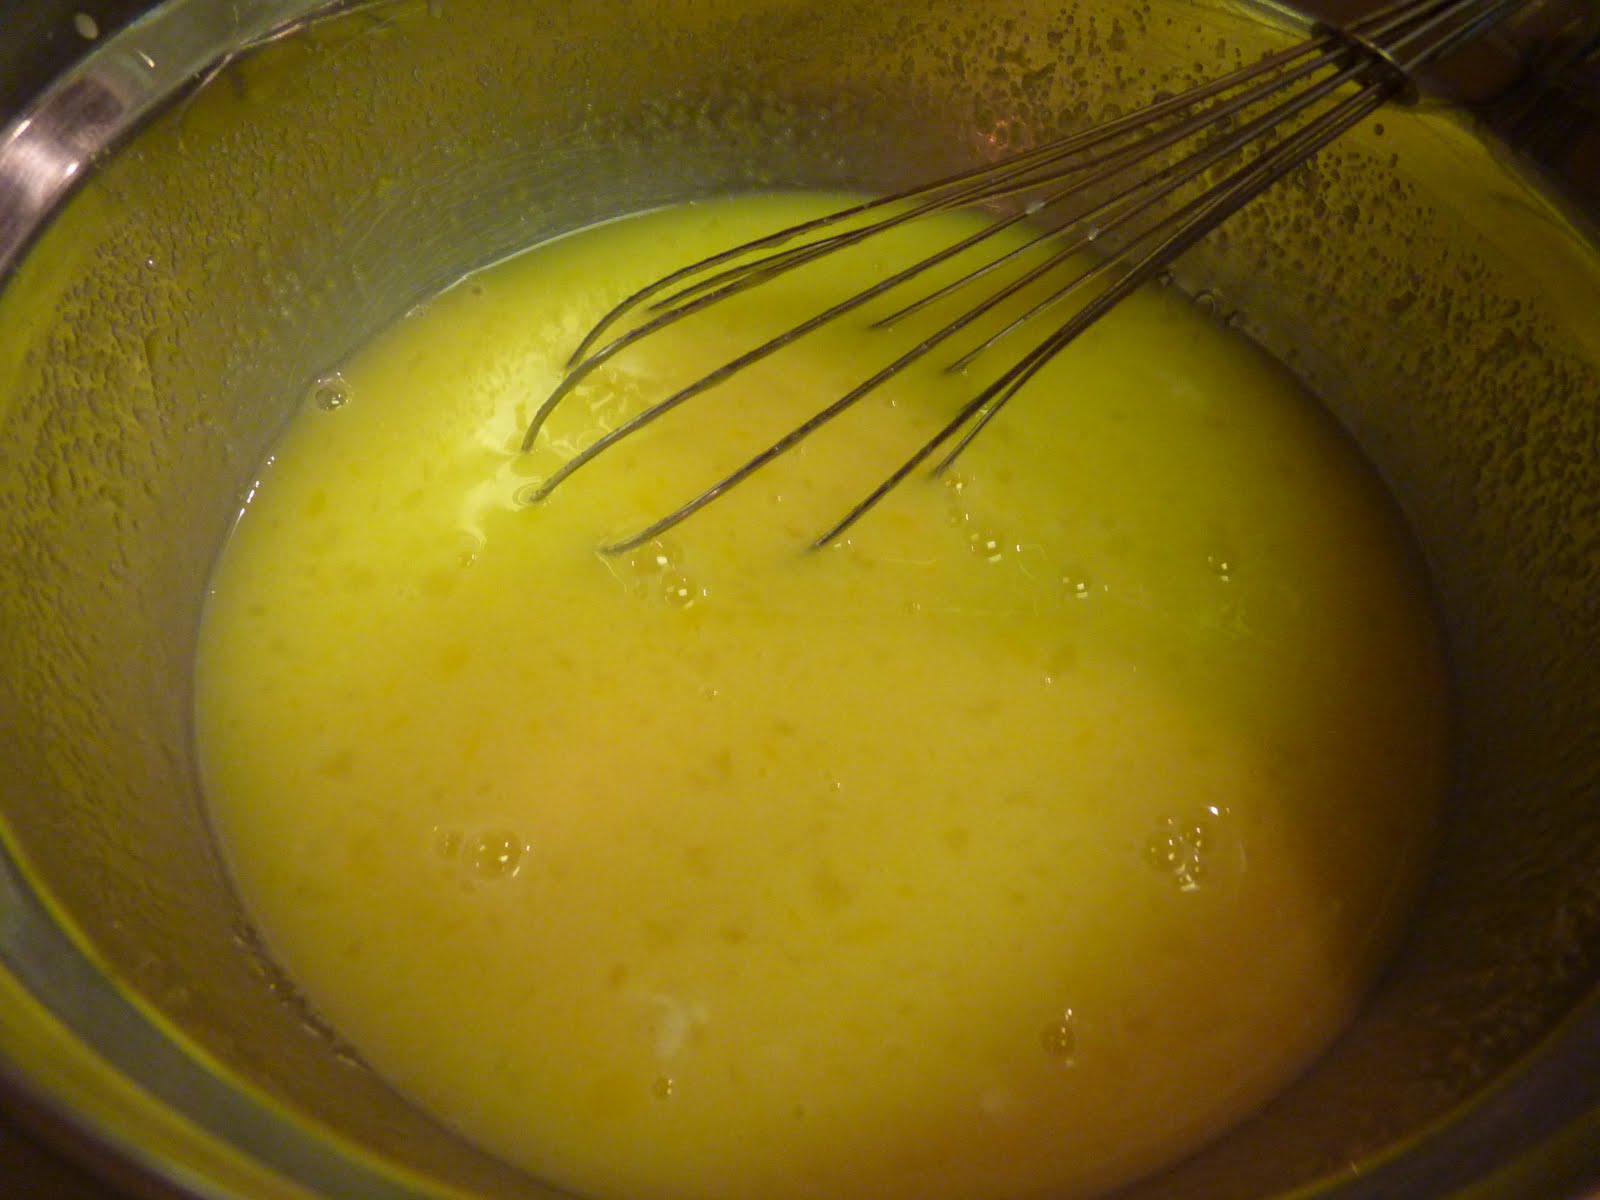

The filling is really going to look like scrambled eggs after you get everything mixed together. (you know, 'making an effort' scrambled eggs, not like my scrambled eggs which is just throwing an egg in a frying pan the way it is and adding some salt...)


This is what it looks like when it comes out of the oven!!! Mine cracked a little, there on the left, so I think I might've left it in a minute or two too long. It settled pretty well while it cooled though. Also I'm a genius and didn't take a picture of some cut bars. Just go check out Mel's page. She takes prettier pictures than I do anyways :)

Recipe source: Mel's Kitchen Cafe

Cheese and Garlic Buttermilk Biscuits

Okay, by show of hands, how many of you have eaten at Red Lobster? Alright, I see, good. Now, by show of hands, how many of you, like me, remind your waitperson everytime that they are supposed to bring you those biscuits? I'm pretty sure I'm not the only spazoid who does that. I will be honest with you, they're most of the reason why I go to Red Lobster. They are SO GOOD. You can't imagine how excited I was to find a copycat recipe of them! I might've looked like this:


These are pretty close to the real thing. The texture is a little heavier and they look a little different, but the taste is all there! FANTASTIC!!! Also these are sooooo healthy....
And I have no objections to anything in the recipe! That's a first, right? However, I put mine on parchment paper, not just a plain, old, ungreased cookie sheet. It just made me feel better that way.

Cheese and Garlic Buttermilk Biscuits

1/2 cup butter (1 stick), cold
2 cups flour
1 Tb sugar
2 tsp baking powder
1/2 tsp salt
1/4 tsp baking soda
1 cup cheddar cheese, shredded
about 3/4 cup buttermilk
2 Tb butter, melted
1/4 tsp garlic salt
1/4 tsp parsley flakes

Preheat oven to 450 degrees F. Stir together flour, sugar, baking powder, salt and baking soda. Cut butter into flour mixture using pastry blender or crisscrossing 2 knives, until mixture resembles coarse crumbs. Stir in cheese then stir in enough buttermilk so dough leaves the sides of the bowl. Turn dough onto lightly floured surface and knead very lightly until dough forms a soft ball, about 10 times. Do not overwork the dough! The less you handle the dough, the more fluffy your biscuits. Roll or pat 1/2 inch thick. Cut with floured 2 1/2 inch biscuit cutter. Place 1 inch apart on ungreased cookie sheet. Bake for 10-12 minutes or until golden brown. Mix together melted butter, garlic salt and parsley flakes. Brush the tops of the warm biscuits with the garlic butter and serve hot.


Look at me, being all mis en place.


I don't have a pastry blender and I HATE using a fork to mix pastry dough, so I use my hands. It's free and also easy. Anyways, it'll look like pie dough after you mix in the butter.


I pressed it out flat with my hands like the recipe suggested, and it worked great!


Looks good right? These are SO. GOOD. I cannot emphasize that fact enough.


Recipe Source: The Sisters Cafe