Showing posts with label brownies. Show all posts

Ultimate Chocolate Chip 'n Oreo Fudge Brownie Bar

By now, you should know that if it's got Oreo's or root beer involved, then I'm down. (I'm not sure how I'd feel about combining both?)
This dessert is no exception. It was one of those that I saw and knew I'd be baking within a matter of days. And also, easy. EASY. People, this stuff is GOOD. There's not much to be said, or a great deal of pictures to show, so just...enjoy :)


Ultimate Chocolate Chip Cookie n’ Oreo Fudge Brownie Bar


1 cup (2 sticks) butter, softened
1 cup granulated sugar
3/4 cup light brown sugar
2 large eggs
1 Tablespoon pure vanilla extract
2 1/2 cups all-purpose flour
1 teaspoon baking soda
1 teaspoon salt
2 cups (12 ounces) milk chocolate chips
1 pkg Double Stuffed Oreos
1 Family Size (9×13) Brownie mix
1/4 cup hot fudge topping

Preheat oven to 350 degrees F. Cream the butter and both sugars in a large bowl with an electric mixer on medium speed for 3-5 minutes. Add the eggs and vanilla and mix well to thoroughly combine. In a separate bowl, whisk together the flour, baking soda and salt, then slowly incorporate into the mixer until the flour is just combined. Stir in chocolate chips. Spread the cookie dough in the bottom of a 9×13 baking dish that’s been lined with wax paper and sprayed with cooking spray. Top with a layer of Oreos. Mix together brownie mix, adding an optional 1/4 cup of hot fudge topping to the mix. Pour the brownie batter over the cookie dough and Oreos. Cover with foil and bake at 350 degrees F for 30 minutes. Remove foil and continue baking for an additional 15-25 minutes. Let cool completely before cutting — brownies may still be gooey in the middle when still warm, but will set up perfectly once cooled.

To half this recipe for an 8×8 brownie mix, simply half the chocolate chip cookie dough ingredients.


cookie layer...


...Oreo layer...


...brownie layer. BAM! 
You will need to spread the batter to cover the Oreos, just FYI.
Also, I used a fudge brownie mix AND mixed in the ice cream topping, which is why I think this happened...


This is me trying to get a nice picture of all of the layers, but I cut the squares and chocolately goodness came spilling forth everywhere. It was AWESOME. Ice cream would be perfect for these!


Once I started enjoying it, THEN I could show you the layers :)


Recipe source: Kevin and Amanda

Root Beer Brownies

Okay, look, I'll be frank. These brownies turned out a million times better than those pumpkin muffins did. Not that they can really be compared... I think this is just me doing self affirmations or something, that I actually CAN bake things and have on hand all ingredients and not forget to put any of them in.

So anyways, these are delicious! The brownies themselves do not have a really root beery flavor, but the root beer added into the batter makes them dense and kind of fudge-like. Oh it's so good! The FROSTING! Oh the frosting is divine!!! Putting in root beer extract is optional, but I HIGHLY recommend it. Although it might be hard to come by this time of year... But you should definitely use it if you can!
There's something else you should add, but I'll mention that in the pictures. YUM YUM YUUUUUM!!!!!!!!!!!


Recipe: Root Beer Float Brownies

Ingredients

  • 2/3 cup flour
  • 1/2 cup cocoa powder
  • 6 oz chopped semi sweet chocolate
  • 3 oz white chocolate
  • 4 Tbsp. butter
  • 3 large eggs
  • 1/2 cup white sugar
  • 1/2 cup brown sugar
  • 8 oz. root beer
  • 2 tsp. vanilla
  • 1/2 tsp salt

Instructions

  1. Preheat oven to 375°
  2. Line a 9×9 baking dish with aluminum foil and spray lightly with cooking spray.
  3. Sift flour, cocoa powder and salt in a bowl and set aside.
  4. Over a double boiler (or in microwave) melt the butter, semi-sweet and white chocolates together.
  5. Remove from heat when just melted and allow to cool for 5 minutes.
  6. Using your mixer mix the eggs, sugars and vanilla together.
  7. Slowly add in the cooled chocolate mixture.
  8. Now add half the flour and half the root beer. Mix on low, scraping the sides.
  9. Repeat with the remaining flour and root beer until just combined. Batter will be on the thin side.
  10. Pour batter into your prepared pan and bake for 25 minutes, until center is just set.
  11. Let cool completely before cutting or frosting.


Recipe: Root Beer Frosting

Ingredients

  • 1/2 cup room temp butter
  • 1/3 cup root beer, no foam
  • 5 cups powdered sugar
  • 1/2 tsp. root beer extract (optional)

Instructions

  1. Beat butter on medium speed until smooth.
  2. Slowly add in your powdered sugar and mix in.
  3. Now add your root beer and extract, if desired.
  4. Beat on medium until smooth and all ingredients are incorporated.


There really wasn't a need for me to take a lot of pictures. The instructions are pretty standard. Don't these look good?  :) If I hadn't had to share these, there's a very good chance I would've just licked all of the frosting off of them.


BONUS TOPPING!!! You should definitely, absolutely get some of this stuff to add on top of the frosting! 
And also, I would eat these brownies with ice cream. And when you have ice cream and topping leftover, but all of the brownies are gone, then you should just eat the topping on the ice cream. As it was intended to be in the first place...

Oh! Also! Side note. I found that the frosting made too much. I think if you did half, it would be enough for a 9x9 pan. Or you could just make the full batch and keep the leftover frosting in the fridge to use at your leisure...


Recipe Source: Cookies and Cups


A brownie, minty fix

My poor baking blog. I think it feels like it's the red headed step child of my two blogs. I've been baking lately, just things that I've posted on here already, and also I'm not baking as frequently as I used to. Did you know ingredients cost money and a lot of the things that I want to bake have ingredients that cost even more money?

Anyways, I'm going to beat everyone to the punch on resolutions and resolve to give more love and care to this here baking blog!

I will start with the fix I needed Sunday night. I looked in my fridge. I thought "What is it that I want?" I glanced in the door, where I keep ridiculous amounts of bags of baking chips, and saw the bag of Andes mints. Then I remembered I have a couple boxes of brownie mix, and a plan was formed.

Basically this is nothing spectacular, but if you're in need of something chocolately and minty, you need to make this.

This is what you'll need:

Also stuff like eggs and water and oil. But anyways, make the brownie mix. Add the mint chunks. I dumped in the whole bag. Actually there was a little less than a whole bag. I don't know what recipe I had that just called for a small amount of Andes mints. In all reality, I probably just had a craving, opened the bag, and ate a few. 

A note on mixing these into the batter: The whole time I was mixing these up, I kept saying to myself "toss the mints in flour first, toss the mints in flour first, toss the mints in flour first."
Did you know that if you're mixing something like Andes mints into batter, if you toss them in flour first, they won't sink to the bottom when baking?
As I was mixing the mint chunks in, I thought "I forgot to toss the mints in flour first." 
So all of mine sunk to the bottom. It was okay. They were still delicious.

So anyways, bake accordingly and then let cool. If you're going to just hack into them at this point, then just hack into them. If you're going to frost them (like I did) then you need to be more patient than me and let them cool completely before frosting them.

Use whatever frosting you want! I looked up an easy cream cheese frosting and it was delish. Also, mix in some green food coloring just to make things more festive. ALSO, go to your Wilton food colorings, give them a stern look and say "From now on, I'm not using you for important things that need to be colored."

And then go out and get some of these, like a lot of them:


Best. Food coloring. Ever.
Y'all, my mom made black frosting with it, and it was black. BLACK!!! 
The quality of AmeriColor is just fantastic!

Anyways, here's what my brownies looked like:


So. More serious blogging on this here blog. Soon. I promise.

A Yuletide Experiment

Okay, I know I promised that my next Christmas treat posting would be my mom's caramels, but my candy thermometer and I are on the outs currently. You know, a real "she said, it said" type of thing.
Anyways, the other day I was talking to my mom about these:


These are the sorts of things my mother and I talk about frequently. Have you ever had the pleasure of eating a candy cane kiss? This is the time of year when all kinds of kiss flavors start making appearances. Some are great! Some...hmmm.
So, I said to her, I says "I've been thinking about doing maybe a chocolate cookie with those candy cane kisses, kind of like the peanut butter blossoms." And mom says "Ooo like a brownie cookie!" And I said "Now you're talkin'!!!"
It might not have been just like that, but close. I don't have a brownie cookie recipe, so I went in search of one, and I found Martha Stewart's. It's alright. I was really hoping for thicker, fluffier cookies. The batter for these was basically just brownie batter. They didn't seem very cookie like at all, and they spread all over the place and were thin. Here's how they looked:


Cute, I suppose. Yummy looking, maybe. My frosting/glaze was a very spur of the moment minty concoction that I was not at all pleased with.

At this point, I am bound and determined to make this chocolate/brownie/minty/candy cane kiss combination work in some form or fashion.

This is where y'all come in. Have any of you ever made anything like that or seen anything like that? If so, please pass it on to me! I'd love to do a tried and true recipe, or combine a bunch of different ideas into something awesome!

I will not rest, this holiday season, until I have figured this out AND it becomes magical!!! So, if you have any thoughts, or ideas, either leave me a comment or email me sandiroughton@hotmail.com. Please entitle the email "Yuletide Experiment" as it will probably go to my junk folder first...

And you KNOW I'll be sharing the outcome on here!!

Peanut Butter Brownie Buddies

Are you ready for round two of my massive baking weekend from a couple of weeks ago? It is also one of my favorite Christmas recipes as well, and so we continue on (every other post or so) in the holiday spirit! Just wait, and get excited, my next Christmas recipe will be for my mom's caramels. Oh. My. Gosh. Seriously, get excited. MOVING ON!!

These brownies are, in a word, crack.

They are also, I learned very quickly, something that should only be made when it's cold outside. I had only ever made these 2 or 3 times last Christmas, and that is where they should have stayed until this Christmas. Oh, these are so very very very very GOOD, but also very very very very chocolate not setting up, so it becomes messy and what should be eaten by hand must be eaten by fork. That is no reason to hate these, though. Make them right now, if you want! I'm just telling you, the experience will be slightly better when it's colder outside, and the chocolate glaze has time to set up.

Peanut Butter Brownie Buddies


Ingredients:

6 TbspMelted Butter
1¼ cupsSugar
2 tspVanilla, divided
3Large Eggs, divided
1 cupPlus 2 Tbsp. Flour
⅓ cupCocoa
½ tspBaking Powder
½ tspSalt
14 ozSweetened Condensed Milk
½ cupPeanut Butter
¾ cupPeanut Butter Morsels
1½ cupsMilk Chocolate Chips, divided
¼ cupHeavy Cream
14Mini Peanut Butter Cup Candies, chopped
DIRECTIONS:
Preheat oven to 350 degrees F. Grease a 13 x 9 inch pan and set aside. In a large bowl, combine melted butter, sugar and 1 teaspoon of the vanilla. Stir well to combine. Add 2 of the eggs and mix well. In another medium bowl, stir together flour, cocoa, baking powder and salt. Add dry mixture to first mixture and stir until well blended. Spread into prepared pan and bake for 20 minutes. Meanwhile, in a medium bowl, combine sweetened condensed milk, peanut butter, the remaining egg and the remaining 1 tsp. of vanilla. Mix well, then add the peanut butter morsels and 1 cup of the milk chocolate chips. Stir well to combine. Remove brownie base from oven and pour peanut butter mixture over the hot base. Spread evenly and return pan to oven. Bake an additional 20 to 25 minutes, or until peanut butter layer is set and edges are lightly browned. Cool completely in pan. Combine the heavy cream and the remaining 1/2 cup of milk chocolate chips in a small microwave safe bowl. Microwave at medium power for 45 - 60 seconds or until chocolate chips melt into cream when stirred. Drizzle mixture over the top of the cooled bars, then sprinkle with the chopped peanut butter cup candies. Allow topping to set, then cut into 24 bars or use a cookie cutter to cut into shapes. Enjoy!


*I just have a couple of things to add. I use an entire bag of mini peanut butter cups because I felt that 14 of them didn't cover enough surface area. Also, I've done the cutting these out with cookie cutters and I don't recommend it. With all of the chocolate and peanut butter cups on top, it is a MESS! Although it is fun to eat the leftover scraps...


Look at that. Just look at it. That's all you need to do.


This is how it will look after you've taken it out of the oven the second time around.


Oh the layers! The layers of GOODNESS!!!

Recipe Source:  Mixing Bowl


It's a Christmas recipe, so I'm sharing another one of my favorite obscure Christmas songs with you!!!


Chocolate Mint Brownies

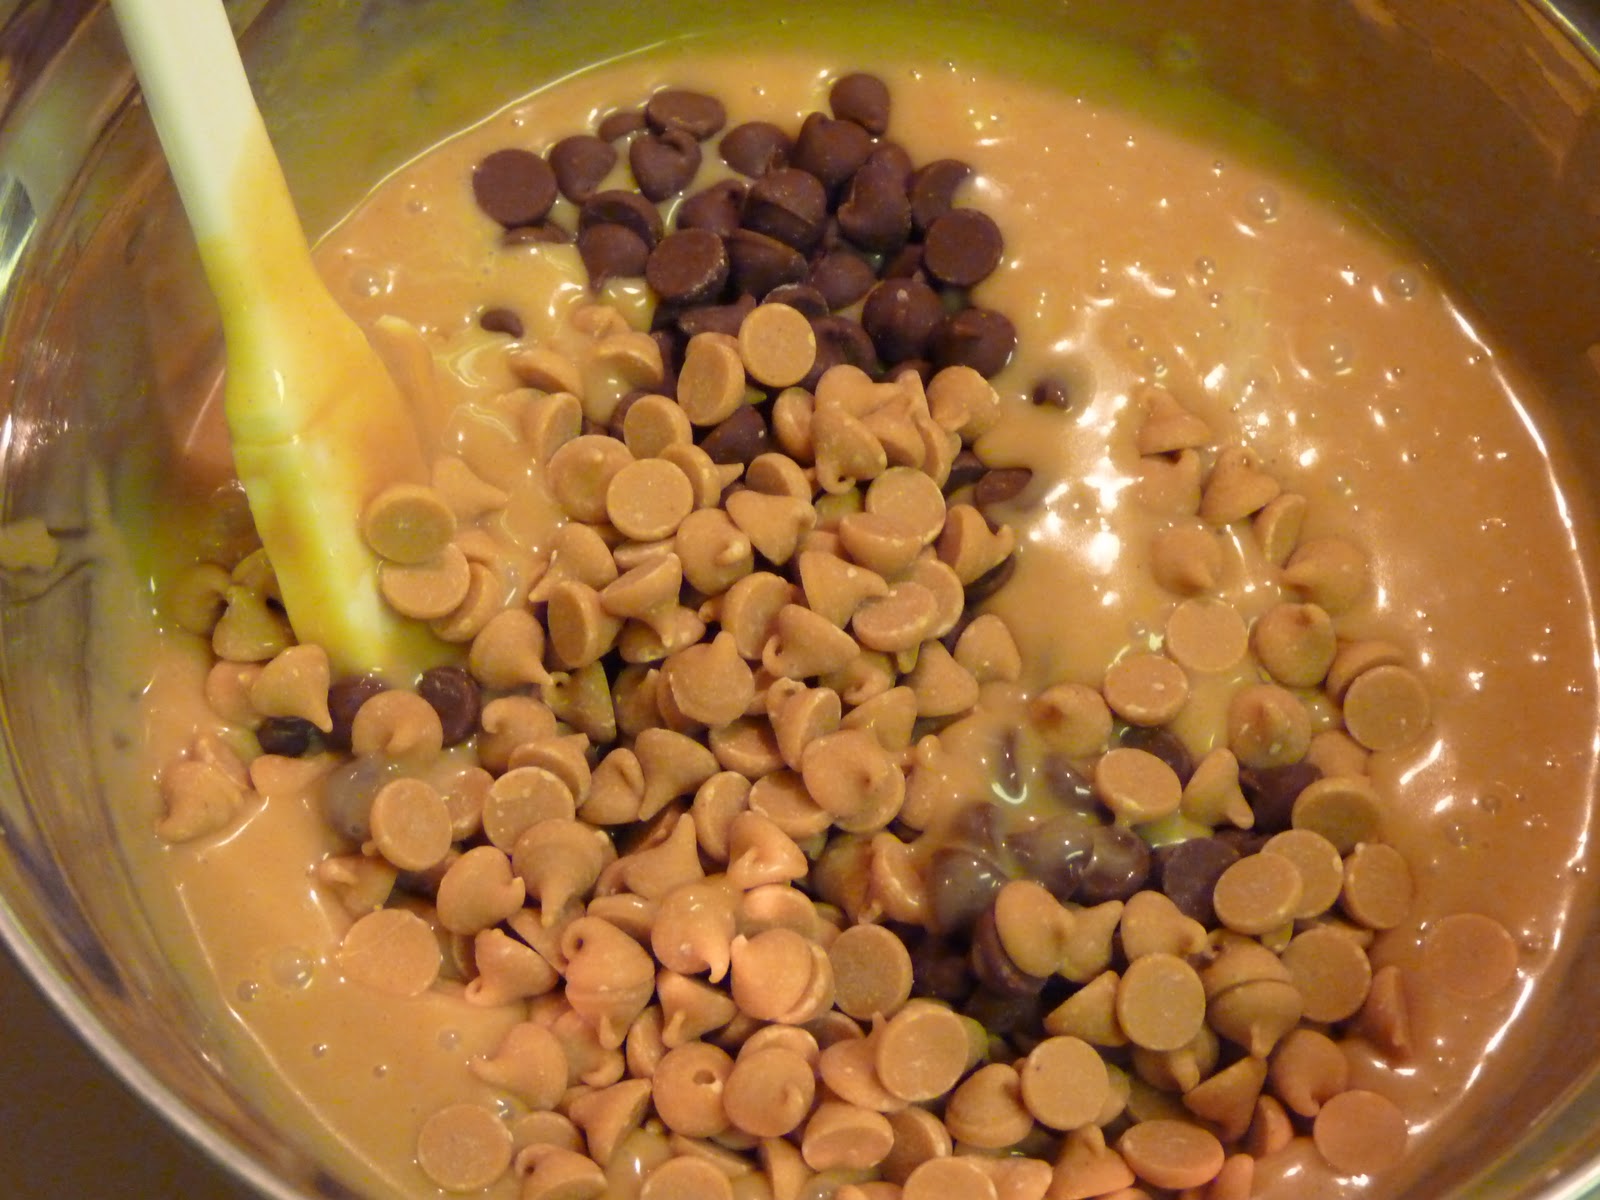
I don't know about y'all but I've been on the hunt for a good mint brownie recipe that doesn't include some sort of alcoholic extract and is still awesome. I FOUND IT! In a Family Fun Christmas book of all the places... It's always in the last place you look, right? Since no one responded to my query about whether or not you wanted me to share some of my favorite holiday recipes BEFORE the holidays, I took matters into my own hands and I'm doing it anyways because hello, I love Christmas. As a side note, this calls for a 9 inch pan and I only have an 8 inch one. Mike, I need a 9 inch pan. They were still good, but I think they would be better if I did them the way they were supposed to. Moving on, here's the recipe!


Chocolate Mint Brownies

Brownies:
½ cup butter
4 oz unsweetened chocolate
1 ½ cups sugar
3 eggs
1 ½ tsp vanilla
1 cup flour
½ tsp salt

Mint frosting:
¼ cup softened butter
2 ½ cups confectioners’ sugar
1 ½ to 3 TB milk
½ tsp peppermint extract
Green food coloring

Chocolate topping:
¾ cup semisweet chips
3 TB butter

Heat the oven to 350 and grease a 9 inch square baking pan. For the brownies, place the butter and chocolate in a microwave-safe bowl and cook on high for 1 minutes, stir, cook for 1 minutes more, then stir until smooth. In a separate bowl, whisk together the sugar and eggs. Stir in the chocolate and vanilla extract. Finally, stir in the flour and salt. Pour into the greased pan and bake for 25 minutes or until a knife inserted in the middle comes out clean. Cool for 1 hour.

For the frosting, cream the butter and confectioners’ sugar. Add the milk 1 tablespoon at a time, beating until it is smooth and spreadable. Beat in the peppermint extract and tine to the desired shade with green food coloring. Frost the cooled brownies, cover, and chill for 1 hour.

To make the topping, put the chocolate chips and butter in a microwave safe bowl and microwave on high for 1 ½ minutes or until the chocolate melts. Stir until smooth. Pour the chocolate over the brownies and smooth it with a knife. Refrigerate for 45 minutes or until the coating hardens.
Bring the brownies to room temperature, then cut into 16 to 32 pieces.

Also, here is another favorite Christmas song of mine. Also sung by Straight No Chaser. ENJOY! (If I keep posting about Christmas recipes, do you think the temperature will start to drop? We're going on temps of about 104-107 for the umpteenth day in a row...)


Recipe Source: Family Fun

Ooey, Gooey Chocolate Butter Brownies

The first time I was introduced to these AMAZING brownies was last year at girl's camp. A very sweet woman took pity on all of the stake leaders and brought us these along with homemade ice cream. We were in heaven, and as a way of showing our gratitude, began demanding the recipe. She was kind enough to share :) I hope that you enjoy! These really are quite ooey and gooey.

Ooey, Gooey Chocolate Butter Brownies
Ingredients:
2 sticks of butter melted (separately)
1 (18.25 oz) package chocolate cake mix (I used Devil's)
3 eggs
1 (8 oz) package cream cheese, softened
3 to 4 TB cocoa powder
1 (16 oz) box powdered sugar
1 tsp vanilla
1 cup chopped nuts (optional)

Directions:
Preheat oven to 350.
Lightly grease a 9x13 pan. In a large bowl, combine the cake mix, 1 egg, and 8 TB (1 stick) of melted butter, and stir until well blended. Pat mixture into prepared pan and set aside. In a stand mixer, or with a hand mixer, beat the cream cheese until smooth. Add the remaining 2 eggs, and the cocoa powder. Lower the speed of the mixer, and add the powdered sugar. Continue beating until ingredients are well mixed. Slowly add the remaining 8 TB (1 stick) of melted butter, and the vanilla, continuing to beat the mixture until smooth. Stir in nuts, if using, with a rubber spatula. Spread filling over cake mixture in pan.
Bake for 40 to 50 minutes. Be careful not to overcook; the center should still be a little gooey when finished baking. Let cake partially cool on a wire rack before cutting into pieces.


The cake mixture is going to be thick enough that it will stick together like this.


Just something I like to do, before turning on the mixer, I move the beaters around to partially mix in the powdered sugar. I don't really want it looking like Christmas in my kitchen :)


When these brownies are finished baking is "debateable." It really depends on how gooey you'd like them to be :) I bake mine for 40 minutes and it looks like this. Just so you know, there's 3 layers to these brownies: the bottom cake layer, the very gooey middle, and the thin crust that bakes on top.


While it cools, the top will sink down, but that is okay. One of my favorite things about this brownie is the crumbly top.


Here they are finished :) These two were still relatively warm so they were just ooey gooey all over the place. The longer they sit, the more they set up.

Good Heavens!

For the love people, why do you let me go so long without sharing a treat with you? My apologies... I moved back to Austin and then Mike came home and things have just been a bit hectic. I'm glad to be back in Austin though and I am ESPECIALLY glad to have Mike home! Even if only for 2 weeks... But that is another story.

So I totally meant to post this like, a week ago, so that if you needed an idea for St. Patrick's Day dessert then you could use this. But then I moved back to Austin and then Mike came home and-oh wait. It's a little late, but you can definitely use it next year! I just love St. Patrick's Day. Mike and I went to a celebration in downtown Austin last night to see some dancers from the totally awesome school I dance with perform (I wasn't dancing because hello I've been gone from here for 9 months), and he was telling me how sad it must be for a Mormon's favorite holiday to be an alcohol related one. And to that I say 'Tis Blarney! You don't need the alcohol to have fun! I just love Irish things so much... I am really digressing with this post. There is really nothing Irish about this dessert, it's just really good and green. And easy.


Mint Brownie Pie
Ingredients:
6 TB butter
2 oz unsweetened chocolate
1 cup sugar
2 eggs, lightly beaten
1/2 tsp vanilla
1/2 cup flour

Filling:
1 package (8 oz) cream cheese, softened
3/4 cup sugar
1/2 tsp mint extract
Green food coloring
1 carton (8 oz) frozen whipped topping, thawed - I know, I know, I know, I HATE whipped topping, but when trying a new recipe that calls for it I'm hesitant to make my own. You can go ahead and make your own if you want. It would work.
1/4 cup semisweet chocolate chips, melted

Directions:
In a large saucepan, melt butter and chocolate. Stir in sugar until smooth. Add eggs and vanilla. Stir in flour until well blended.
Pour into a greased 9 inch springform pan. Bake at 350 for 18-20 minutes (mine took about 25...) or until a toothpick inserted near the center comes out clean. Cool on a wire rack.
In a large bowl, beat cream cheese and sugar until smooth. Beat in extract and food coloring if desired. Fold in whipped topping. Spread evenly over brownie layer. Cover and refrigerate for at least 1 hour.
Remove sides of pan just before serving. Melt chocolate chips, drizzle over top. Garnish with additional whipped cream and chocolate chips if desired.
This picture is posted for no other reason than it just being chocolate.


This is the filling mixture before I added whipped cream...


...and this is it after I added it. Still green, but if you want it to be darker be sure and add more food coloring before you put in the whipped cream. As I was folding it in, I thought of that but it was too late.
Well there you go! My Irish shakers think you should definitely use this for the next Irish/mint/brownie/chocolate event in your life! It's good stuff.